INTRODUCTION: The following tutorials were something I promised to do for Shadow Guard as part of the Raven Wing Project I am working on for him. Most are quick and easy. They aren't meant to give you tips on winning a golden demon or any other painting prize. They are however a way to have a decent looking army in a short amount of time. Many times in these tutorial your going to see non-GW paint names. I have nothing against GW paint, I think it is great stuff. The bottles for it on the other hand..bleh. So where possible I will include a GW equivalent (or close enough for government work) for the colors I use. That said, please understand that these are how I do these particular things. It is not the Games Workshop way, the Cool Mini or Not way, heck some might say it is not even the "right" way. All I can promise is that it works and if you choose to follow it, your army will at least be presentable on the table. Above anything though I hope that folks who are looking to start painting or improve their painting can learn something. So any comments / critiques you want to fire at me feel free: [ email: menshakhaine@hotmailcom ] |
PAINTING MASTERCLASS ANGELS OF VENGEANCE MARINE By Matthew Hunt ( Kurgan ) |


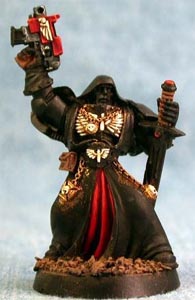
PAINTING THE UNFORGIVEN |


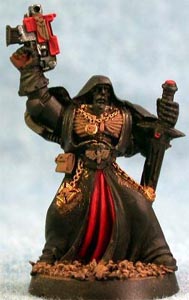
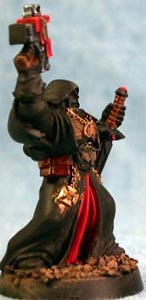
Step 10 - Ral Partha Firekin Red is the 4th coat on the red areas |
">

">
">
">
">
">
">
">
">
">
">
">
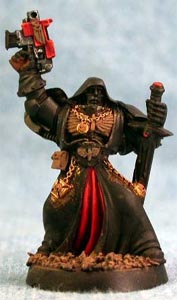
Step 11 - A final highlight of GW Blazing Orange to finish off the red areas. |
Step 3 - The gun handle was given an initial highlight of Ral Partha Cleric Brown. |
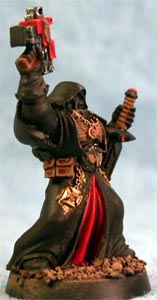
Step 13 - And then finished off with a highlight of Ral Partha East Indian. |
">
">
">
">
">
">
">
">
">
">
">
">
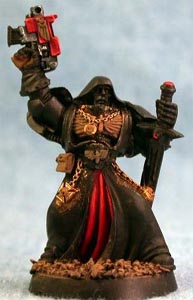
Step 14 - Leather areas (pouches and sword handle) were given a heavy GW Flesh Wash. |
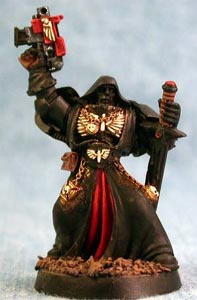
Step 18 - Vallejo Ivory is the next highlight. |
Step 15 - These were then highlight similar to the gun handle. |
">
">
">
">
">
">
">
">
">
">
">
">
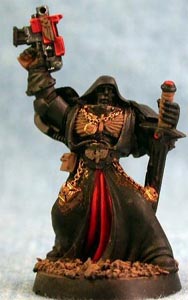
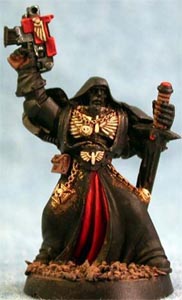
Step 16 - The chest eagle received an intial coat of GW Bleached Bone |
Step 17 - Next comes a coat of NITRO Bone. |
INTRODUCTION: The following tutorials were something I promised to do for Shadow Guard as part of the Raven Wing Project I am working on for him. Most are quick and easy. They aren't meant to give you tips on winning a golden demon or any other painting prize. They are however a way to have a decent looking army in a short amount of time. Many times in these tutorial your going to see non-GW paint names. I have nothing against GW paint, I think it is great stuff. The bottles for it on the other hand..bleh. So where possible I will include a GW equivalent (or close enough for government work) for the colors I use. That said, please understand that these are how I do these particular things. It is not the Games Workshop way, the Cool Mini or Not way, heck some might say it is not even the "right" way. All I can promise is that it works and if you choose to follow it, your army will at least be presentable on the table. Above anything though I hope that folks who are looking to start painting or improve their painting can learn something. So any comments / critiques you want to fire at me feel free: [ email: menshakhaine@hotmailcom ] |