

CREATING AN INTERROGATOR CHAPLAIN By Scott Tilbury ( Deathwing70 ) |


CHARACTER CONVERSIONS |
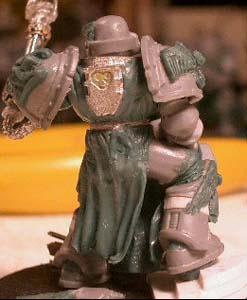
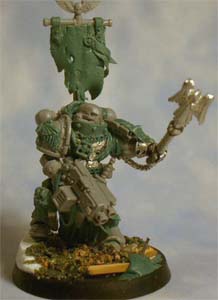
Step 3: At this point you can see he has gotten his "robes", his Bionic eye and a strap for his Storm Bolter. For the robes you should see another article on this site called "Sculpting Robes". The strap was pretty easy actually, just take some green-stuff, flatten it (be sure to keep your tools/table or whatever you use, wet), cut out your basic retangle, let it harden for a while and finally attach it with some super-glue while you can still work with it (bend it). |
">

">
">
">


Figure 6 |
Figure 5 |
">
">
">
">
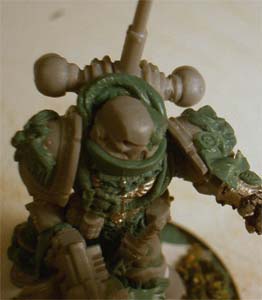
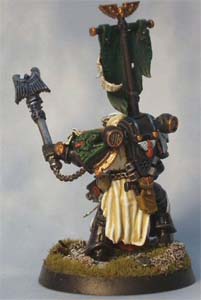
Step 4: After some comments about this being the first and only marine ever to actually have a neck, he was given a bigger neckguard to make it seem less obvious and bury his head in a bit and the hood removed. At this stage other equipment was also added, grenades, a knife, some purity seals ("blowing in the wind") using the same "flatten" green-stuff method as before, some pouches, his Rosarius and a holster holding his "backup gun" or just to fill up an empty spot. He has also been given a pulled back hood and some sculpted chains to "hold" all the equipment he is carrying. Note that all these parts were added in stages. It's another part of the "patience" with green-stuff. Try not to do too much at once. Not much more was done to the |
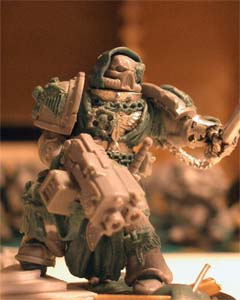

">
">
">
">
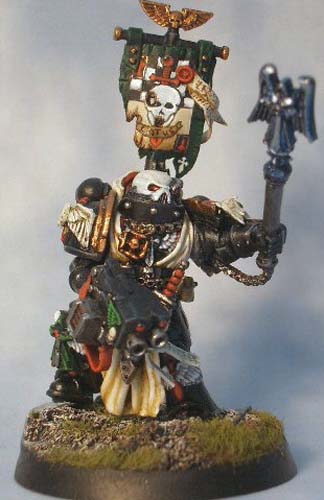
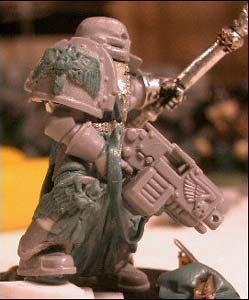
model besides a little bit of cleaning. There have been some studs added to his neck guard to break up the large open space. And off course a banner made from green-stuff. After this step he is pretty much ready for painting. Not much can be added or should be added as it might just make the model look worse. (You CAN put too many details on a model) |
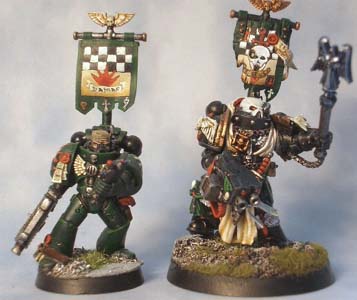
I hope this article has inspired you to make your own Chaplain and basically be not afraid to experiment with green-stuff. If it makes you feel any better, this was pretty much the first "big" converting project I have ever done. And yes I screwed up with the green-stuff sometimes, but you can simply take it off and start again (practise and patience). |