
DEATHWING REBORN By ( Opticon ) |


PAINTING THE UNFORGIVEN |


This article has been published here with the express permission of Opticon. |
How to paint a Deathwing Terminator - Initial concepts and Thought Process: I found this description of painting a Deathwing Terminator while roaming the warp. The site that this was originally present is no longer active. Luckily I had managed to contact one of the web masters before it's demise and get permission to display it here. This is Opticon's step-by-step guide to quickly and accurately painting up a Deathwing terminator. |
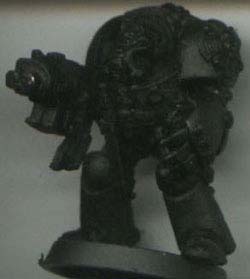
Step 1 - undercoat: Black. This is what I've been doing lately; it's almost become my routine. At any rate, poof, here's a black primed Deathwing. As always remember not to over prime. |
">

">
">
">
">
">
">
">
">
">
">
">
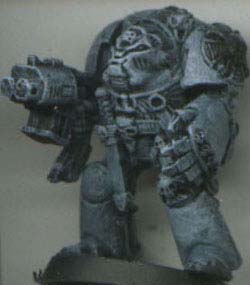
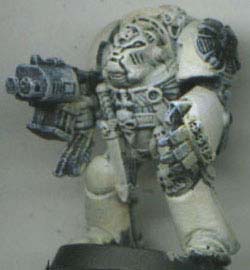
Step 2 - Lighten the undercoat: Well, everyone knows light colors don't go on black worth a damn, so I drybrushed the whole miniature in Skull White. I did it pretty heavily since I know I'm going for a bone-whitish look in the end. |
Step 3 - First base coat : This can be tricky. You need to put a layer of Bleached Bone on thick enough to not have too much black showing, but thin enough to still have shading. What I did was to brush it on, not quite drybrushing, but with a fairly light touch. |
Step 4 - Lighten the base coat: Well, the Bleached Bone alone looks a little bit yellow, and it's still got some deep black pits showing, so I went through and once again drybrushed Skull White over the whole miniature. |
Step 5 - Add colours: Now that my Deathwing looks like I want it too, I'm going to start throwing the first layers of colors on it. IThe things I did at this point were basically the reds and greens on it, and a bestial brown coat on the Crux Terminatus. |
">
">
">
">
">
">
">
">
">
">
">
">
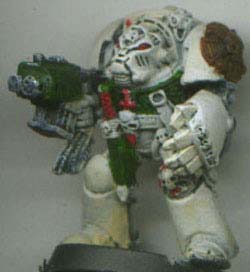
Step 6 - ..and more colours: Here I drybrushed some Bleached Bone onto the Crux Terminatus, and did Chaos Black on the areas where I'd be putting metal (like the Storm Bolter). I also did the purity seals in a quick coat of Bleached Bone. |
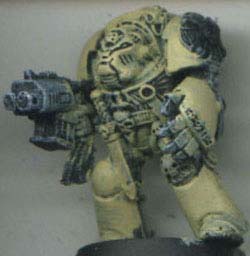
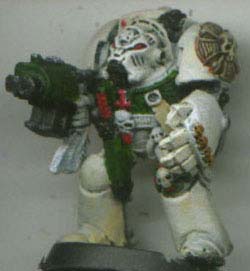
Step 7 - First details: Well, here I did the metal work, and painted the feathers lightly with white. |
Step 8 - Finishing up: Basically now I did the final details that I might have missed, including the sword and putting brown ink on all the purity seals, touched up any areas that overran, and did the feathers with red and green. I also chose to base this one in the desert scheme that my future table is going to have. This consists of basically just Snakebite Leather on the edge, letting |
">
">
">
">
">
">
">
">
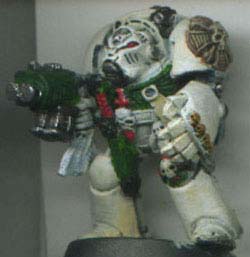
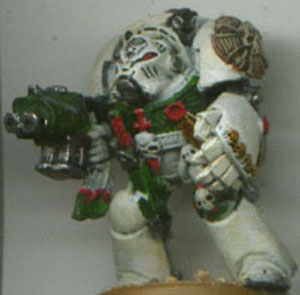
that dry, then another coat of Snakebite Leather on the base top itself, and dipping it in sand while still wet (if your minis get banged around a lot, I'd recomend gluing the sand on, then painting over it in leather, as it holds almost infinitely, while my way tends to flake off after some use). There you have it: the half-hour Deathwing Terminator that looks good. If you want to go further, you can highlight some of the edges with Skull White (you'll notice it on top the bleach bone/white mix) and apply a decal to the right leg and shoulder. Personally, I hate decals (that and I don't have any) but they do look good if you can actually put the damn things on right. |