HOW TO PAINT DEATHWING BONE By Jack Stockdale ( GM Jack ) |


PAINTING THE UNFORGIVEN |

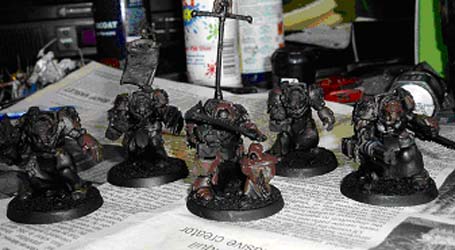
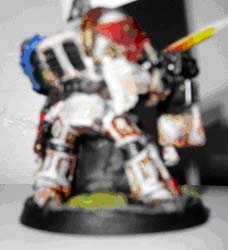
Step 1 - Undercoat the model in chaos black. Make sure the whole model is covered. Step 2 - Basecoat any areas to be painted bone in bestial brown. |
">

">
">
">
Step 2 - At this stage, Shining gold is placed around the skull icons on either side of the tank on the bike. Ral Partha Brown is used as the base coat for the seat, followed a chestnut ink wash |
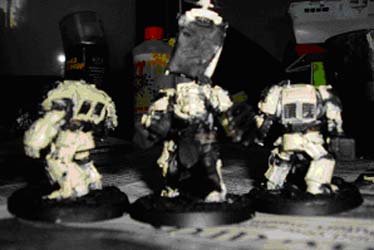
Step 3 - Now paint pure bleached bone on top of the brown. You may need two coats to get a flat colour. |
Step 4 - Now, apply several (at least 2) coats of flesh wash all over. |
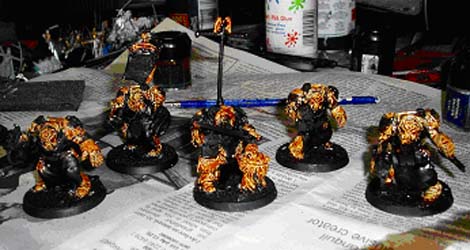
Step 5 - Dry brush a 50:50 mix of bleached bone and skull white all over the armour. Again, you will need two coats to get a good colour rather than a messy brown. |
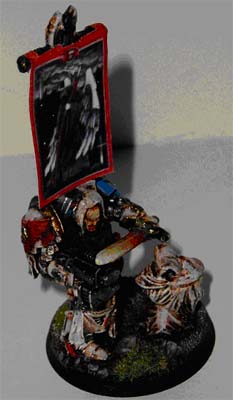
Step 6 - The decals were added at this point. The Ravenwing symbol was added to the right side of the front fender, squad number to the left side. Decals were gone over first in Skull White and the finished with Chaos Black around the edges. |
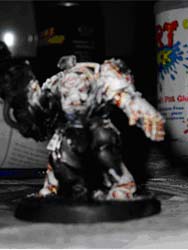
Step 6 - Now, dry brush some pure skull white over the raised edges and your done. An easy, but long way to great looking bone armour |
">
">
">
">
">
">
">
">
">
">
">
">
The dashboard buttons were done as follows: Red: base coat of RP Sword of Light Red, highlighted with RP Red. White: base coat of Ghost Grey, highlighted with Skull White. Blue: base coat of Ultramarine Blue, highlighted with RP True Blue. |
">
">
">
">
">
">
">
">