HOW TO PAINT A RHINO By Chester Warwick (Captain Arakis) |


VEHICLES & WARMACHINES |
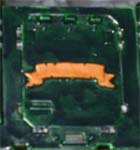
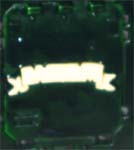
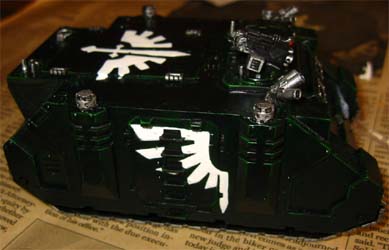
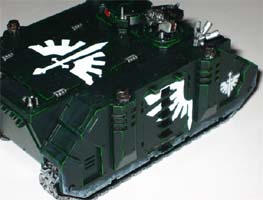
Step 7: Any purity seals or parchment start with a basecoat of Bestial Brown. A layer of Bubonic Brown is applied next, leaving only a little of the previous coat. Repeat with Bleached Bone then Skull White. Any scripture was painted on in watered down black with a fine detail brush. |
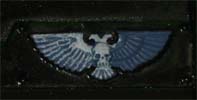
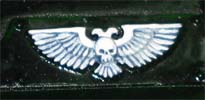
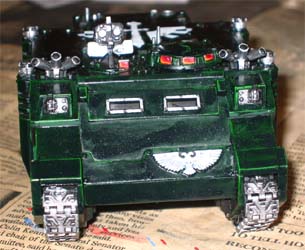
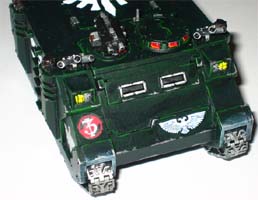
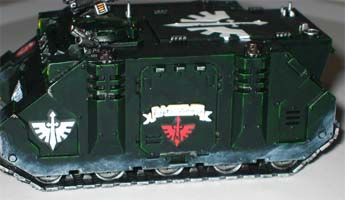
Step 8: The Imperial Eagle design on the hull was given a basecoat of Shadow Grey. This was then drybrushed heavily with Ghostly Grey. The feathers and skull where picked out with Skull White |
">

">
">
">
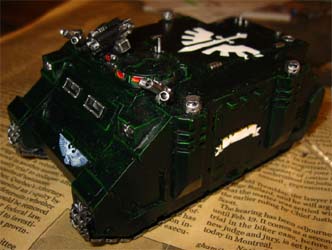
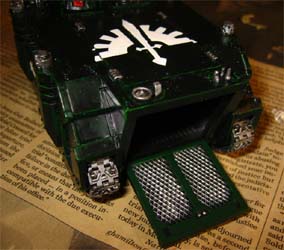
The Rhino is all but finished now. A couple touch ups and details are added. From here you are quite ready to apply the decals and otherwise finish the model. I would generally stop here, liking a right out of the factory look. But for the purposes of this tutorial, I'll add some signs of wear to the vehicle. Step 10: To give the impression of charring and heat around the exhaust pipes, drybrush the top area around the vents with Tin Bitz. Once this is done, immediately drybrush with Chaos Black while the paint is still damp. Step 11: To create minor damage to the armor, paint Black onto the edges of the armor in patches where the paint would naturally tend to rub off. The more you do, the more worn the vehicle will look. Paint these spots with Boltgun Metal, leaving a line of black between the paintwork and the exposed hull. Step 12: To create the impression of mud, drybrush the Rhino's track area lightly with Scortched Brown and the Bestial Brown. My army is based on grey dust, so I will apply Fortress Grey. Step 13: Apply your decals and seal the model! |
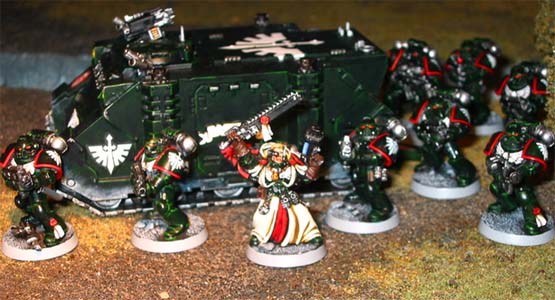
Fifth Tactical takes the fight to the Necrontyr during the Hunt the Fallen Campaign |

">
">
">
">
Step 9: The metal areas where finished up by a drybrush of mithril silver. Thinned black ink (2 parts water to one part ink) was applied to darken and shade the metal. |
Figure 6 |
Figure 7 |


">
">
">
">